
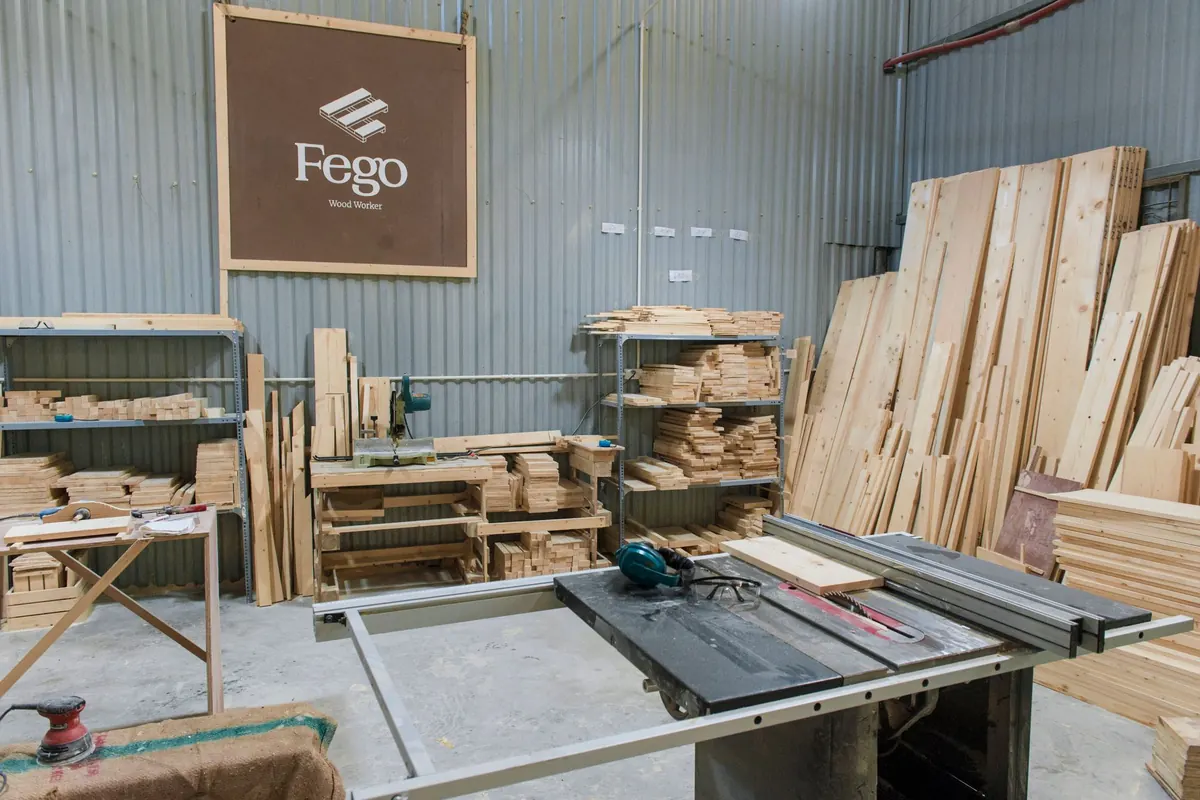
Mini Split for a Detached Workshop or Studio
Whether it's a woodworking shop, art studio, music room, backyard office, or the classic "she shed," detached structures share one thing in common: they're not connected to your home's HVAC system, and extending ductwork out to them is impractical, expensive, or impossible.
Enter the mini split, arguably the perfect HVAC solution for standalone buildings. A single outdoor unit, one indoor unit, a small hole through the wall, and you've got year-round heating and cooling without any ductwork at all.
Why Mini Splits Are Ideal for Detached Buildings
Detached structures are the textbook use case for ductless mini splits:
- No ductwork required: Running ducts from your house to a detached building is a major construction project. A mini split needs only a 3-inch hole.
- Independent operation: The workshop climate runs on its own thermostat, completely separate from your house
- Both heating and cooling: Heat pump mode means one system handles everything
- Efficient for intermittent use: Inverter technology ramps up quickly and scales down when not needed
- Small footprint: Doesn't take up floor space in an already-tight workshop
Sizing for Common Detached Buildings
| Building Type | Typical Size | Recommended BTU | Notes |
|---|---|---|---|
| Small shed/she-shed | 80–150 sq ft | 6,000–9,000 | Basic insulation assumed |
| Backyard office | 120–250 sq ft | 9,000–12,000 | Good insulation typical |
| Art studio | 200–400 sq ft | 9,000–12,000 | Account for large windows |
| Woodworking shop | 300–600 sq ft | 12,000–18,000 | Dust, open doors, poor insulation |
| Large workshop/barn | 600–1,000 sq ft | 18,000–24,000 | Often poorly insulated |
| ADU/guest house | 400–800 sq ft | 12,000–24,000 | Full insulation, continuous use |
Key Sizing Factors
Insulation quality is the single biggest variable. A well-insulated 300 sq ft studio might need only 9,000 BTU. The same space with bare walls and a metal roof might need 18,000 BTU.
Other factors:
- Ceiling height: Many workshops have high or open ceilings (12–16 ft). Add 10% per extra foot above 8 ft.
- Window area: Art studios with large windows gain significant solar heat
- Equipment heat: Kilns, welders, computers, and compressors all generate heat
- Door usage: If you're frequently opening a large bay door, factor in constant air exchange
- Climate: A workshop in Phoenix needs more cooling than one in Portland
Electrical: The Critical Planning Step
This is where many detached building projects hit a snag. Your mini split needs power, and that power needs to reach the detached building safely and legally.
What You Need
A typical 9,000–12,000 BTU mini split requires:
- Dedicated 15–20 amp circuit at 115V or 208/230V (check your specific model)
- GFCI protection for outdoor/garage/workshop circuits (per NEC code)
- Underground or overhead conduit from your main panel to the building
For larger 18,000–24,000 BTU units:
- Dedicated 20–30 amp, 208/230V circuit
- Heavier gauge wire for longer runs (voltage drop matters over distance)
Running Power to a Detached Building
- Underground conduit is the most common method. Burial depth requirements vary by code (typically 18–24 inches for PVC conduit). Cost: $500–$2,500 depending on distance.
- Overhead wiring is cheaper but less attractive. Must meet clearance requirements (typically 10 ft minimum height).
- Always hire a licensed electrician. Permits are usually required. The cost of doing it right ($800–$3,000) is trivial compared to the cost of a fire or insurance claim from improper wiring.
Subpanel Option
For larger workshops, installing a subpanel in the detached building makes sense. This gives you capacity for the mini split, lighting, power tools, and outlets, all from one properly sized feeder run. A 60-amp subpanel typically costs $1,000–$2,000 installed.
Insulation: Don't Skip This Step
Just like with garages, insulation dramatically affects both comfort and mini split sizing:
Minimum Insulation Recommendations
- Walls: R-13 minimum (fiberglass batts or rigid foam)
- Ceiling/roof: R-19 to R-30 (critical for heat gain/loss)
- Floor: R-10 minimum if raised; concrete slab doesn't need insulation in mild climates
- Windows: Double-pane minimum; consider Low-E glass for studios
Quick-Win Insulation for Existing Structures
- Rigid foam board (2-inch polyiso = R-13) attached directly to wall studs: $1–$2/sq ft materials
- Radiant barrier on the underside of the roof: $0.15–$0.50/sq ft, reduces radiant heat by up to 40%
- Spray foam for sealing gaps and irregular spaces: $1.50–$3.50/sq ft installed
- Insulated curtain over large bay doors: $100–$300
Installation Considerations
Indoor Unit Placement
- Wall-mount units are the standard choice: mount high on the wall, away from dust-generating equipment
- In a woodworking shop, position the unit where it won't be directly in the path of sawdust: fine dust clogs filters fast
- For studios with easels or equipment along walls, a ceiling cassette or floor console may work better
- Maintain 6+ inches clearance above the unit to the ceiling
Outdoor Unit Placement
- Place it on the side of the building closest to the indoor unit (shorter line set = better efficiency)
- Elevate it on a wall bracket or concrete pad: ground-level units in workshops can be hit by equipment, splashed by runoff, or buried by debris
- Maximum line set length varies by model (typically 25–50 feet), which is usually plenty for a detached building
- If the outdoor unit is far from the main house, ensure it's secure and not in a spot where it could be damaged
Line Set Routing
The refrigerant line set, power cable, and condensate drain all run together:
- Through the wall of the detached building (3-inch hole)
- Down the exterior wall to the outdoor unit
- Seal the penetration with putty or silicone, not just spray foam
- Use a line set cover for a clean exterior appearance
Special Considerations by Building Use
Woodworking Shops
- Dust is the enemy. Clean or replace filters every 1–2 weeks
- Consider an air filtration system (like a ceiling-mounted shop air cleaner) to reduce airborne dust before it reaches the mini split
- Position the indoor unit on the wall opposite your primary dust-generating tools
Art Studios
- Climate control matters for material preservation: paint, clay, and canvas are sensitive to temperature and humidity extremes
- Maintain 40–55% relative humidity for most art materials
- Large north-facing windows (ideal for natural light) gain less solar heat than south or west-facing
Music Studios / Recording Rooms
- Noise matters. Choose a unit rated under 22 dB for recording environments
- The outdoor unit noise can be picked up by microphones: place it as far from recording positions as possible
- Consider vibration isolation mounts for the indoor unit
Home Offices
- Reliable temperature control for 8+ hours of daily use
- Wi-Fi control for scheduling and remote monitoring
- Consistent temperature prevents laptop/equipment overheating
Cost Summary
| Component | Cost Range |
|---|---|
| Mini split unit (9,000–12,000 BTU) | $700–$2,000 |
| Professional installation | $1,500–$3,000 |
| Electrical run to building | $800–$3,000 |
| Insulation (if needed) | $500–$2,000 |
| Total | $3,500–$10,000 |
For smaller sheds with existing electrical, costs can be as low as $2,500–$4,000 all-in.
The Bottom Line
A mini split is the most practical, efficient, and cost-effective way to climate-control a detached workshop or studio. It installs in a day, runs independently from your house, and provides both heating and cooling from a single system. The biggest planning considerations aren't the mini split itself. They're getting power to the building and insulating it properly. Handle those two things, and the mini split installation is straightforward.
Your detached space will go from a seasonal workspace to a year-round sanctuary, and you'll wonder why you didn't do it sooner.